Why This Matters
Proper pipe connections are crucial for system integrity and preventing leaks. These techniques ensure durable, waterproof joints that will last for years.
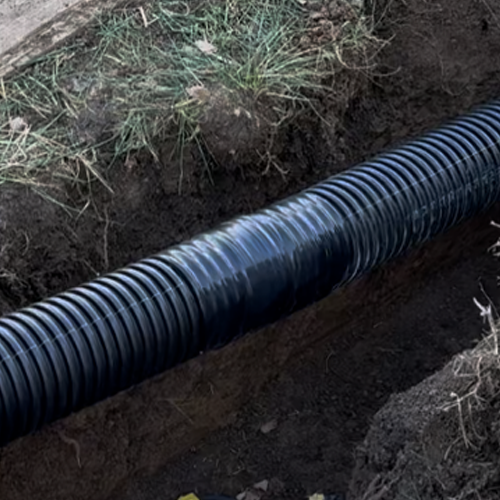
1. Pipe-to-Pipe Connections
1
Verify Layout
Proper planning prevents costly mistakes and ensures a professional installation.
- Measure twice, cut once
- Confirm the full layout of your pipe run
2
Cut the Pipe
Clean, precise cuts are essential for proper fitting and sealing.
- Use a fine-tooth sawzall blade or a utility knife with a metal blade
- Make clean, square cuts to ensure a tight seal
3
Dry Fit Components
Always test fit before applying permanent connections to avoid alignment issues.
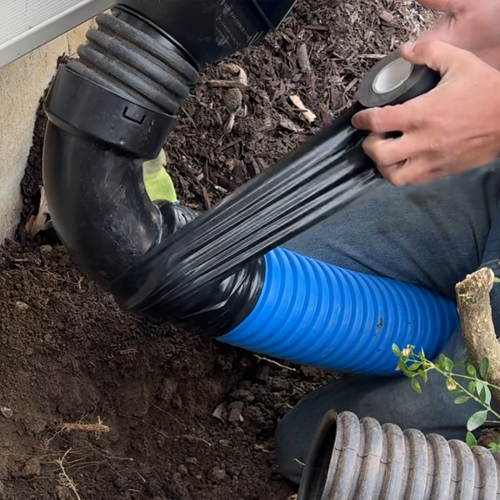
- Use a pipe coupler to assemble the connection without tape first
- Confirm the alignment with intended slope and direction
4
Apply Waterproof Tape
Proper taping technique creates a watertight seal that prevents system failure.
- Use 4" waterproof pipe tape
- Start with one full wrap on the first pipe
- Spiral evenly across the seam, ending with a full wrap on the second pipe
- Apply a total of at least 8 wraps
- Final taped section should be at least 8" long
2. Wye and Elbow Connections
1
Pre-Measure and Cut
Accurate measurements prevent forced connections that can damage fittings.
- Identify the exact location and angle for wyes or elbows
- Cut pipe to fit these without forcing or bending the fittings

2
Dry Fit and Confirm Orientation
Proper orientation ensures optimal water flow and prevents system bottlenecks.
- Dry fit fittings before applying tape
- Orientation is critical, especially for multi-pipe merges
- Double-check angle and flow direction