Why This Matters
Proper discharge methods ensure collected water flows away from foundations while preventing erosion, pooling, and system backups.
Section 1: Pop-Up Emitter
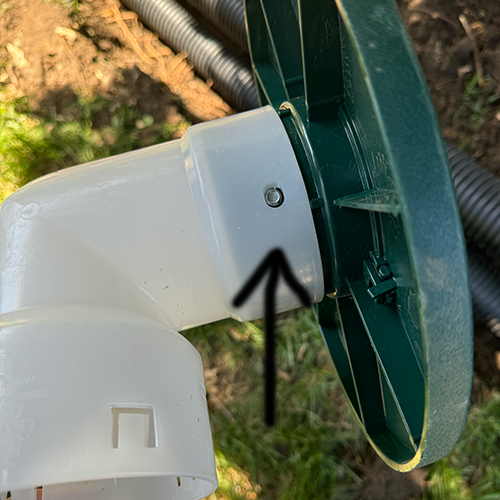
Connect Elbow to Emitter
Secure the elbow connection to ensure proper water flow direction.
- Attach the white elbow to the pop-up emitter using two corrosion-resistant screws, one on each side
- Ensure the emitter is oriented correctly so water flows freely away from the elbow
- Do not install it backward
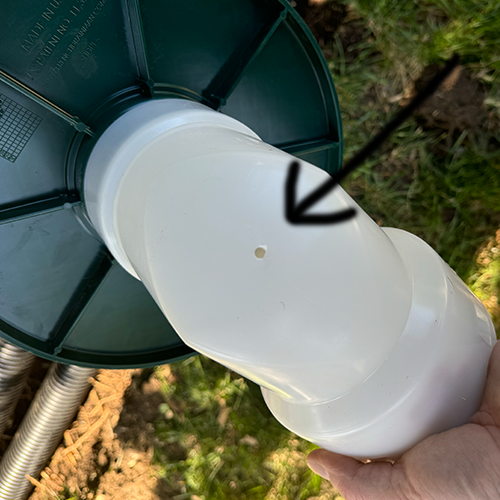
Drill Drain Hole
Prevent standing water and related issues with proper drainage.
- Drill a 3/8" hole at the bottom of the elbow to allow slow drainage
- This prevents standing water, which can attract mosquitoes or cause foul odors
Connect Pipe
Create a watertight connection between the drainage system and emitter.
- Use pipe tape to securely connect the drainage pipe to the elbow
Base of Gravel
Create a stable foundation that promotes drainage and prevents clogging.
- Make sure the trench near the discharge area is at least 12" deep
- Lay 4–6" of gravel in the base where the emitter will sit
- This helps excess water drain and prevents mud from clogging the elbow
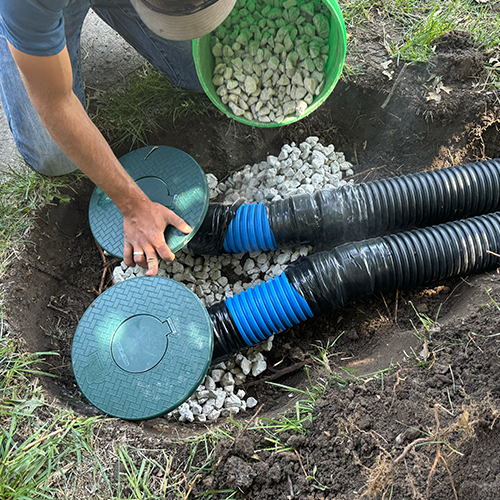
Position at Grade
Achieve proper positioning for optimal function and aesthetics.
- Place the emitter so that the top sits 1–2" below the final soil grade
- Adjust surrounding soil and gravel as needed for a flush finish
- In this example, two pop-up emitters were installed side-by-side pointing toward the street
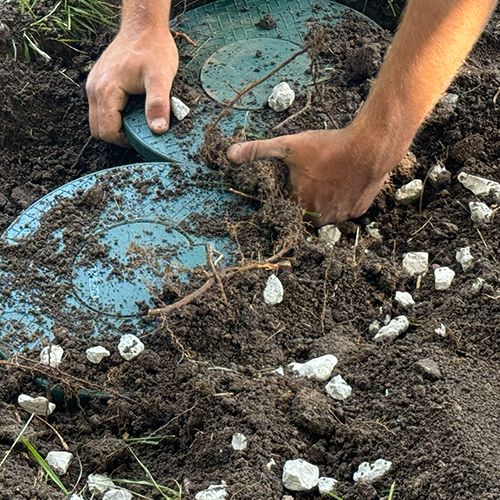
Compact Under Plate
Ensure long-term stability and proper emitter function.
- Use your hands or a mallet to firmly pack dirt under and around the emitter plate
- Compacting helps keep the emitter level and secure over time
Section 2: Daylighting
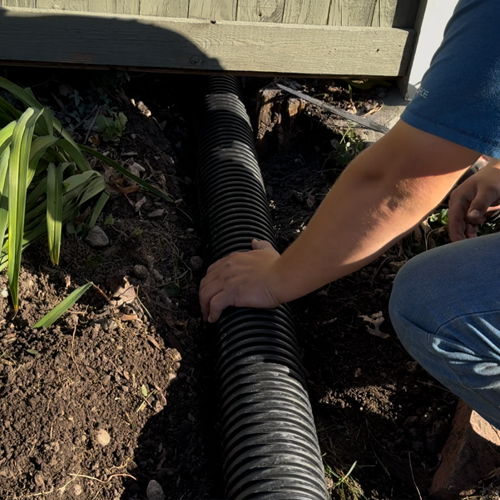
Identify Placement of Daylight Cut
Select the optimal discharge location for effective water management.
- Locate the point where the pipe will discharge at the surface
- This is usually the lowest point on the property and allows water to exit freely
- Always confirm the location with the foreman before cutting
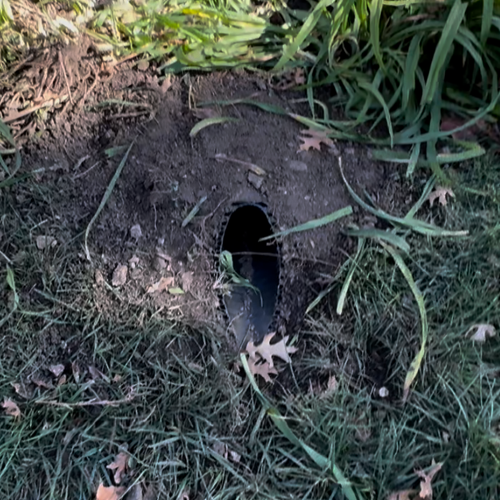
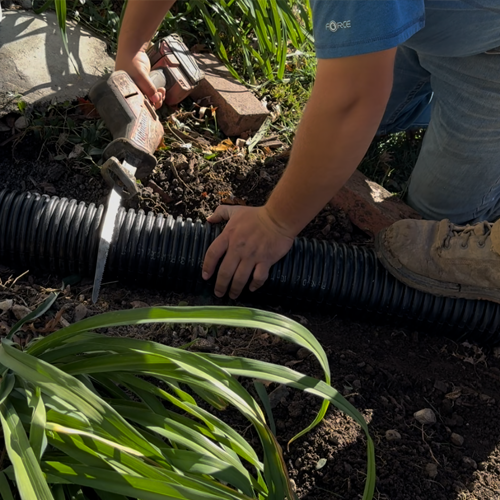
Cut Daylight Outlet
Create the discharge opening with proper angle for water flow.
- Use a Sawzall to carefully cut a 45° angle at the discharge point
- The cut should aim away from the property and toward the drainage area
- Follow all safety procedures while cutting
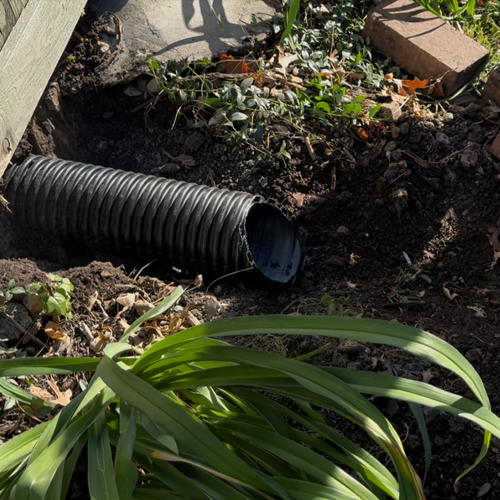
Clean and Inspect
Ensure optimal water flow with a clean, properly angled discharge.
- Remove any debris or plastic scraps from the pipe
- Check that the cut is smooth and angled properly to allow water to flow out without pooling or backing up
Critter Guard Installation
Protect the system from unwanted intrusions while maintaining water flow.
- Installation details to be added.
Backfill Around Discharge
Complete the installation while protecting the discharge outlet.
- Backfill the area around the outlet without blocking it
- The discharge must remain clear and angled slightly downward
- If the pipe discharges in a mowable area, follow the foreman's extra instructions to make sure the pipe won't be damaged by a mower