Why This Matters
Proper downspout connections prevent foundation damage, basement flooding, and landscape erosion while providing easy access for future maintenance.
Step-by-Step Installation

1
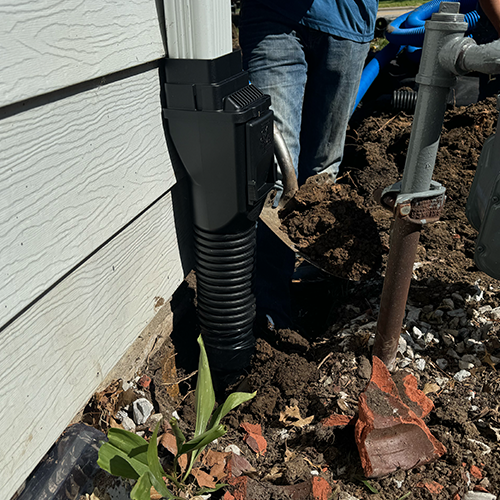
Unstrap Downspout and Cut if Needed
Prepare the downspout for adapter installation by removing mounting hardware and making precise cuts.
- Remove screws holding the downspout to the house
- If needed, trim the vertical downspout using a Sawzall with a metal blade
- Ensure the adapter will fit snugly against the cut downspout
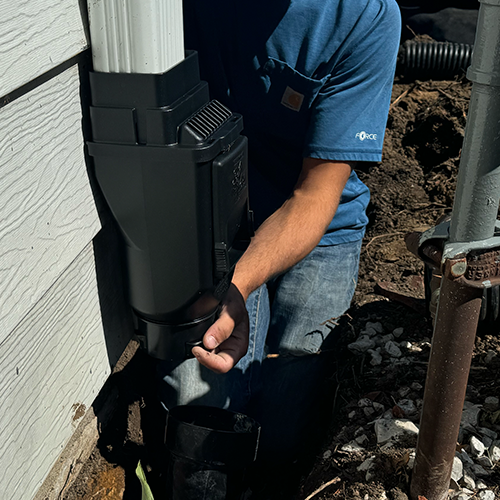
2
Dry Fit Components
Test all connections before permanent installation to ensure proper alignment and functionality.
- Test-fit the adapter to both the downspout and drain pipe
- Confirm alignment and positioning before applying any tape or making connections
- Check with the foreman for the proper riser height on each project:
- The bottom of the leaf-guard door is typically set 3–4" above grade
- Try to keep all risers uniform across the project for a clean look
3
Connect to Pipe
Make secure, waterproof connections while maintaining aesthetic appeal of visible components.
- Snap the Leaf Guard Adapter into the 4" drainage pipe
- Apply waterproof tape at the connection
- In most cases, it's easier to install the elbow at this time
- Tape the bottom of the elbow where it connects to the riser pipe
- DO NOT tape the visible portion of the adapter (aesthetic reasons)
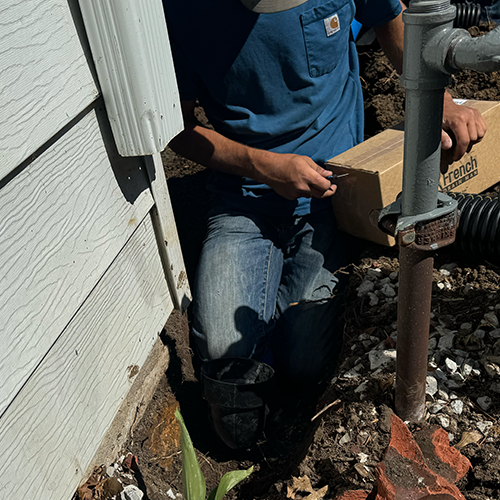
4
Backfill and Grade
Complete the installation with proper backfilling and preparation for future maintenance access.
Before backfilling:
- Install tracer wire in the trench to allow future contractors to locate the buried pipe
- Secure the assembly and reattach the downspout strap to the wall
- Regrade the surrounding soil to stabilize the adapter and prevent shifting during ongoing work